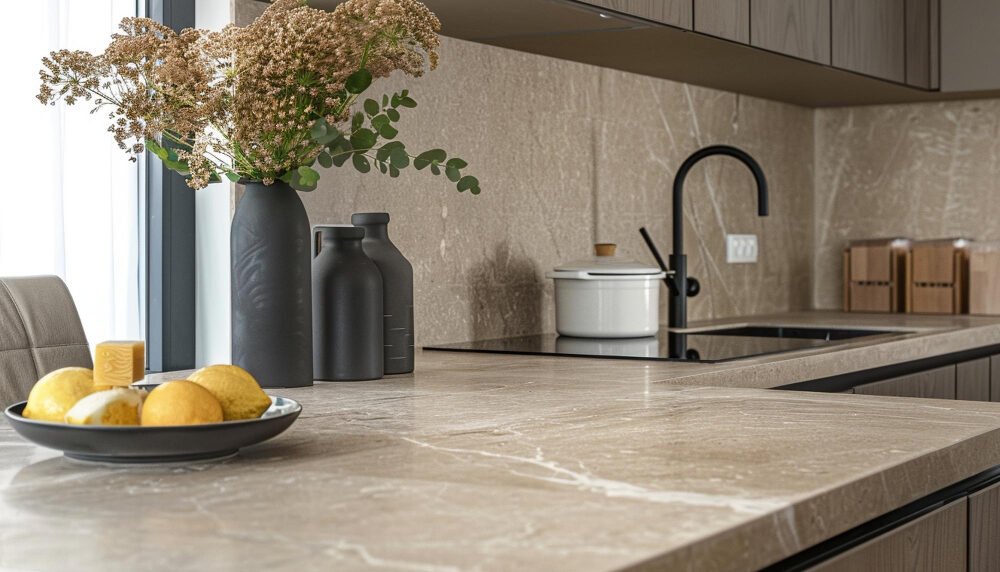
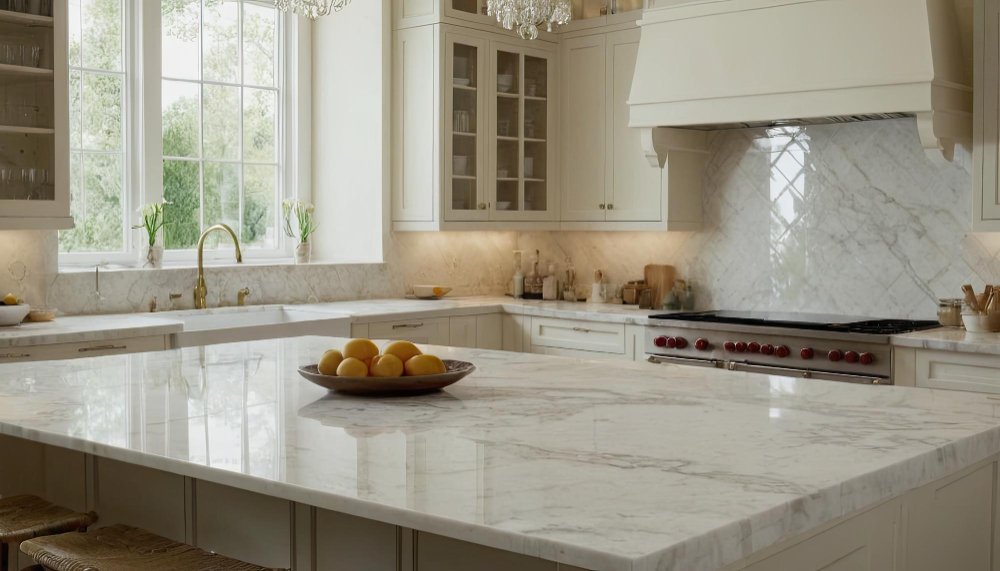
Kitchen Countertop Renovation: Step-by-Step Planning for a Perfect Surface Upgrade
A well-planned countertop project can redefine your kitchen’s beauty and workflow. Before diving into demolition or material selection, understanding each stage of a countertop redesign service helps ensure lasting results — both in performance and design.
Here’s a detailed guide to help homeowners plan a flawless countertop renovation from start to finish.
Step 1: Evaluate Your Existing Counters
Start by assessing your current surface. Check for:
Cracks or burn marks.
Water damage near seams or sinks.
Stains that won’t lift.
Outdated edges or colors that no longer fit your style.
Take measurements and photos to share with contractors during your consultation.
Step 2: Establish Your Budget and Priorities
Your budget should reflect both the look you want and how you use your kitchen. Consider:
Quartz and Granite: Long-lasting, high-end materials ($60–$120 per sq. ft.).
Solid Surface or Laminate: Cost-effective, flexible choices ($30–$70 per sq. ft.).
Butcher Block: Adds warmth but requires regular maintenance ($40–$100 per sq. ft.).
Determine where you can save and where investing more will add value — such as custom edges or backsplashes.
Step 3: Choose the Right Material
Different materials suit different lifestyles:
Busy families: Quartz for low upkeep.
Culinary enthusiasts: Granite or quartzite for heat resistance.
Eco-conscious homeowners: Recycled glass or concrete composites.
Minimalists: Seamless solid surfaces with integrated sinks.
If you’re looking for personalized style options, consulting a custom countertop designer can help you match materials, finishes, and color schemes to your kitchen’s flow.
Step 4: Select the Perfect Finish and Edge
The finish you choose affects both appearance and maintenance.
Polished: Shiny and reflective for a classic look.
Honed: Matte and soft for a contemporary feel.
Leathered: Textured and natural, ideal for rustic designs.
Edge profiles — such as beveled, ogee, or waterfall — add dimension and define style.
Step 5: Plan the Installation
A typical countertop installation takes 1–3 days depending on scope. Professionals will:
Remove old surfaces and prep cabinetry.
Measure and cut the new slabs with precision.
Seal seams and edges.
Reinstall sinks, backsplashes, and fixtures.
Always confirm plumbing and electrical readiness before the scheduled date.
Step 6: Post-Installation Care
After installation:
Avoid setting hot pans directly on the surface.
Use mild, non-abrasive cleaners.
Reseal natural stone annually.
Wipe spills immediately to prevent etching or staining.
With proper care, your new countertops can look stunning for decades.
Homeowner’s Checklist
✔ Measure and assess existing countertops
✔ Set a realistic budget
✔ Choose materials and finishes wisely
✔ Schedule a professional installation
✔ Follow long-term maintenance tips
Wrap-Up
A successful countertop renovation blends planning, craftsmanship, and creativity. With the right team and careful material selection, you can achieve a kitchen that’s as durable as it is beautiful.
👉 Ready to upgrade your space? Contact local professionals today and start designing your ideal countertop.


